

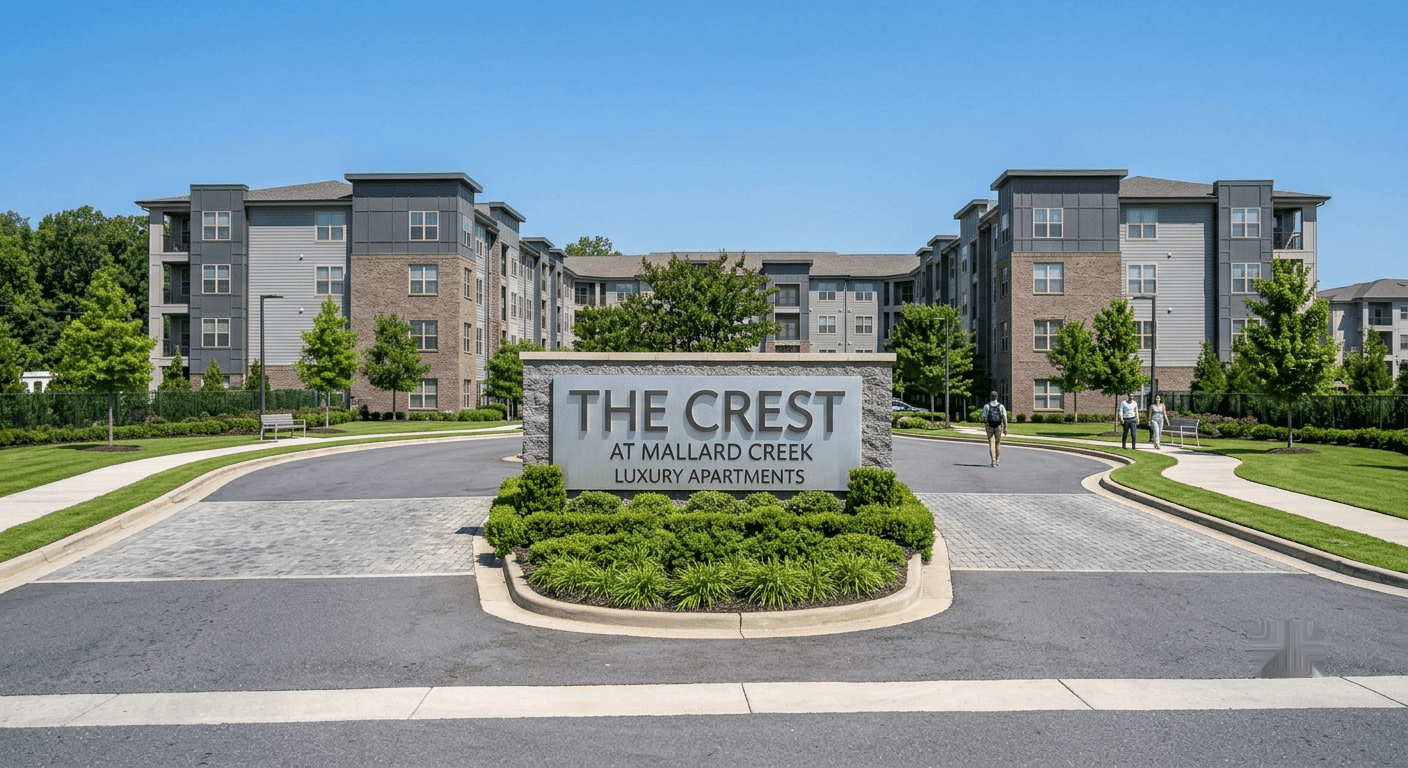
First impressions happen before a prospective resident ever steps inside a leasing office. They...
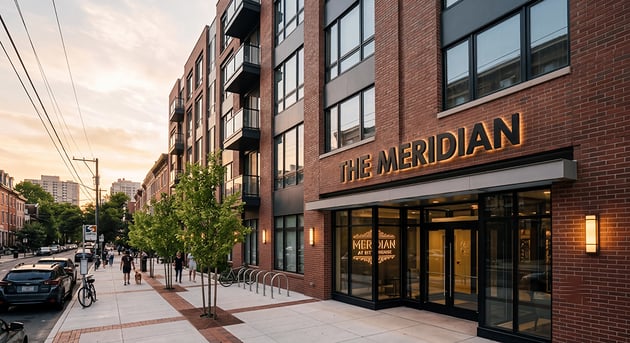
On most apartment projects, signage is treated as a finishing touch: something to sort out after the facade is set, the landscaping is drawn, and the electrical plans are largely done. That timing is where problems start. A monument sign that needs a footing nobody planned for, an illuminated sign with no power at the wall, or a wayfinding system that ignores how residents actually move through the property can all trace back to the same cause: signage was not part of the conversation early enough.
Signage sits at the intersection of architecture, branding, wayfinding, and resident experience. It is often the first thing a prospective resident notices from the street and the thing a delivery driver, guest, or emergency responder relies on to find the right door. When it is coordinated with the architect's design, it reinforces the building's identity. When it is not, it can look like an afterthought bolted onto a finished design.
This guide walks through how architects, developers, general contractors, and property managers can coordinate multifamily signage with architectural plans, from the first concept sketches through final installation. Whether you are planning new construction or an adaptive reuse project in Philadelphia, the principles are the same: plan early, document clearly, and let the signage support the architecture rather than compete with it.
Why Signage Should Be Coordinated With Architectural Design
Multifamily signage is more than a set of name plates. It is part of the property's visual identity and it physically interacts with the building. There are four main reasons to bring it into the architectural process early.
1. The property’s identity is defined by signs.
Apartment signage communicates the brand, tone and quality level of the community. The logo treatment, finishes and typography should feel like they are part of the same design language as the façade, entry and lobby.
2. Sign locations affect elevations.
Where a building identification sign goes determines how a facade reads. A sign placed over a window line, across a reveal, or too close to a canopy can disrupt carefully proportioned elevations. If you reserve sign zones in the drawings you avoid awkward compromises later.
3. Late changes cost more.
Moving a sign location, changing its size, or switching to illuminated lettering after walls are framed or finishes are installed can mean rework, change orders, and schedule delays. Decisions made on paper are far cheaper than decisions made on site.
4. Early coordination clarifies the technical requirements.
Materials, mounting methods, backing and blocking, lighting, and electrical service all need to be known before the relevant trades finish their work. Architectural signage that is planned in advance can be built into the project instead of retrofitted.
For developers, the process translates into a cleaner budget and schedule. For architects, it protects the design intent. For general contractors, that means less surprise and more defined scopes.
When Should Multifamily Signage Planning Begin?
The short answer: during concept design, and certainly no later than design development. Here is what typically happens at each stage.
Concept Design
At this stage, the goal is direction rather than detail. The team should establish:
- Branding direction: Is the community modern and minimal, industrial, upscale, or neighborhood-oriented? The brand informs the signage style.
- Signage types: Decide what types of signage will be required for the property, such as monument signs, building IDs, wayfinding, parking signage, amenity signs, and interior signage.
- Major sign locations: Flag the primary opportunities, including the street frontage, main entry, garage entrance, and lobby, so they can be protected in the early plans.
Design Development
As the architecture is refined, signage details should be refined with it. This is the stage to define:
- Dimensions: Approximate sizes of major signs relative to the facade and landscape.
- Materials: Metals, acrylics, specialty finishes, and how they relate to the building's materials palette.
- Mounting: Flush mounted, stud mounted, blade, post and panel, or freestanding, and what each requires from the wall or footing.
- Lighting: Illuminated or non-illuminated, halo lit, face lit, or externally lit, and the effect on electrical planning.
Construction Documents
By the time construction documents are issued, sign information should be specific enough for bidding and coordination:
- Final locations shown on elevations and plans.
- Electrical requirements, including power at sign locations and any controls.
- Structural details such as monument sign footings and wall blocking or backing in.
- Installation requirements, including access, sequencing, and any dependencies on other trades.
Construction & Installation
Once the project is underway, coordination shifts to the field:
- Site coordination to verify conditions match the drawings.
- Fabrication timed to the construction schedule, with shop drawings reviewed and approved.
- Installation scheduled around other trades, landscaping, and site access.
- Final inspection to confirm that signs are installed correctly, function as intended, and match the approved design.

Types of Multifamily Signage to Coordinate
A typical apartment community needs more sign types than most teams initially expect. Treating them as one coordinated family, rather than separate purchases, keeps the property visually consistent.
1. Signs for Property Identification
These are the brand and community names. They are usually located at the main entry, street frontage, or primary facade, and they set the tone for everything else.
2. Building Identification Signs
On multi-building campuses or buildings with several entries, building ID signs help residents and visitors understand which structure is which. They often use building numbers, letters, or names.
3. Monument Signs
Freestanding monument signs provide street-level visibility and typically involve footings, landscaping, and sometimes lighting and power. They are among the signs that most benefit from early coordination with civil and landscape plans.
4. Wayfinding & Directional Signs
Directional signs guide people to parking, leasing offices, buildings, amenities, and key destinations. A well-planned multifamily wayfinding signage system reduces confusion and repeated questions to the leasing staff. For budgeting, see our wayfinding signs pricing guide.
5. Signs for parking and roads
These include garage entrances, clearance heights, visitor and resident parking, EV charging, speed limits, and direction arrows. Some are regulatory, so layout and contents should be reviewed against applicable requirements.
6. Lobby & Interior Signs
Lobby graphics, directories, mail room signs, package room signs, and floor identification all shape the first impression inside the building. They should be coordinated with the interior finishes and lighting.
7. Signs of Amenity
Clear, consistent identification benefits fitness centers, co-working lounges, pools, roof decks, clubrooms, and pet spas. The signs are also a way to reinforce the personality of the community.
8. ADA Signage
Accessible signage, including permanent room and space identification and accessible route and entrance signage where applicable, needs careful planning for content, mounting location, and tactile features. More on this below.
9. Regulatory & Safety Signage
Exit signs, stair identification, fire and life safety signage, and other code-driven signs need to be integrated into the plan so they are compliant without looking like an afterthought.
How to Match Signage With the Architectural Design
This is where signage either strengthens a project or undermines it. The guiding principle is simple: signage should support the architecture, not compete with it. Consider each of the following.
Building materials: Look at what the facade is made of, whether brick, metal panel, fiber cement, glass, or stucco, and choose sign materials that complement rather than clash. A sleek metal sign on a warm brick building can work beautifully if the finish and proportions are right.
Colors: Pull from the project's palette. Window frames, trim, canopies, and accent materials should be intentionally colored in signage, but contrast should be maintained for readability.
Typography: The choice of typeface conveys the community's character. The style of the building often dictates your choice of font. Clean sans-serif fonts are often appropriate for contemporary buildings; more refined or traditional lettering can be more suitable for historic conversions. Whatever the choice, the first priority is legibility at distance.
Metal finishes: Brushed, painted, anodized, or patina finishes should coordinate with other metals in the project, including railings, storefronts, light fixtures, and hardware.
Wood, stone, and concrete: If these elements are present in the architecture or landscape, they can be echoed in signage with bases, accents, or backing panels to create a sense of continuity.
Lighting: The way a sign is lit at night is as important as the way it looks during the day. Halo-lit letters might work for a modern frontage, and warm external lighting for a traditional one. Lighting should complement the overall lighting plan for the site.
Landscaping: Sign visibility is affected by plantings, grading, and hardscape. A monument sign that looks great in a rendering can disappear behind mature shrubs if the landscape plan is not coordinated.
Architectural style: A mid-rise contemporary building, a converted mill, and a townhome community each call for a different signage approach. The signage vocabulary should reflect the architectural one.
Scale and proportions: Signs that are too large overwhelm a facade; signs that are too small fail to do their job. Test sizes against elevations and consider viewing distance, speed of approach, and the scale of surrounding elements.
When these elements are reviewed together, the result is signage that feels like a natural part of the building rather than something added at the end.
Coordinating Sign Locations With Architectural Plans
Sign placement should be reviewed on the same drawings the architect uses to design the building. Key areas to check include:
- Building elevations: Identify signable zones that respect window patterns, reveals, and structural rhythm.
- Wall conditions: Confirm whether walls are masonry, metal panel, stucco, or another substrate, since each affects mounting methods.
- Entrances: Primary and secondary entries need clear identification without cluttering the entry design.
- Parking areas: Entrances, exits, and drive aisles require signs that are visible to drivers without blocking sightlines.
- Driveways: Entry points from the street should be easy to identify, especially at night and in dense urban areas.
- Corridors: Interior wayfinding and unit identification need consistent mounting heights and locations.
- Lobby: Directories, building IDs, and feature signs should work with the interior design and lighting.
- Amenity spaces: Signs should identify spaces clearly while respecting finishes and furniture layouts.
- Visibility from pedestrian and vehicle approaches: Walk and drive the approaches, in drawings and on site, to confirm that signs are seen where decisions are made.
Material Selection for Multifamily Signage
Material choices affect appearance, durability, maintenance, and budget. The right answer depends on the sign's location, exposure, and design intent. Here are common options and where they tend to fit.
Aluminum: Lightweight, durable, and versatile, aluminum is widely used for exterior panels, cabinets, and fabricated letters. It accepts a range of paint colors and finishes and suits both monument and building signs.
Acrylic: Often used for lobby and interior signage, acrylic offers clean edges, color options, and layering possibilities. It can also be used for push-through and illuminated elements.
Stainless steel: A strong choice where a premium, long-lasting look is desired, such as entries, lobbies, and upscale communities. Finish choice (brushed, polished, or coated) influences both appearance and upkeep.
Dimensional letters: Built-up or cut letters mounted to a wall create depth and shadow, making them a popular option for building identification on modern facades. They can be flush mounted or stud mounted, depending on the wall. Learn more about dimensional letter signs.
Vinyl graphics: Cost-effective and flexible, vinyl suits window graphics, amenity identification, and updateable messaging. It is generally best for applications where frequent changes may be expected.
Illuminated signage: Halo-lit, face-lit, or backlit options, including channel letter signs, increase nighttime visibility and add atmosphere. They require coordination with electrical plans and attention to maintenance access.
Specialty finishes: Powder coating, patinas, wood-look laminates, and textured surfaces can help signage tie into the building palette. These are best specified early so samples can be reviewed alongside other project finishes.
Whatever materials are chosen, it is wise to consider long-term performance: weather exposure, cleaning needs, vandalism resistance, and the ease of repair or replacement. For a deeper look, read how long apartment signage lasts and how to maintain it.
Coordinating Illuminated Signage With Electrical Plans
Illuminated signs are among the most visually effective elements of a multifamily project, and also among the most dependent on other trades. If power is not planned for in advance, the options are limited and often expensive. Items to coordinate include:
- Power requirements: Identify circuits, voltage, and load for each illuminated sign.
- Conduit: Determine routing from the electrical source to the sign location, including any trenching for monument signs.
- Transformers and drivers: Decide where power supplies will be placed, and how they will be accessed and ventilated.
- Electrical access: Make sure there is a practical, code-compliant way to connect, service, and shut off power.
- Mounting: Confirm that walls or bases can accommodate the sign's weight and any internal components.
- Maintenance: Plan for how lamps, LEDs, or power supplies will be serviced years from now without damaging finishes.
- Lighting appearance: Coordinate color temperature, brightness, and control (timers or photocells) with the overall site and building lighting.
This is a place where early input from the signage fabricator saves time for architects, electrical engineers, and general contractors alike. A short coordination call at the right moment can prevent field changes later.
Integrating Wayfinding Into the Resident Experience
Good wayfinding is invisible when it works. People simply find where they are going. To get there, think in terms of the journey a resident or visitor takes:
Street → Entrance → Parking → Building → Lobby → Amenities → Apartment
At each step, ask what decision the person needs to make and what information they need to make it.
- Street: Can someone driving or walking by identify the property and the entry? Monument and building ID signs do this work.
- Entrance: Is it clear where to turn in, where visitors should go, and where residents enter? Directional signs and clear entrance identification help here.
- Parking: Are resident, visitor, and accessible spaces easy to distinguish? Are clearances, one-way flows, and garage entries marked?
- Building: On campuses with several buildings, can people tell which building they are approaching and how to reach it?
- Lobby: Is there a clear indication of where to find leasing, mail, packages, elevators, and stairs?
- Amenities: Are amenity spaces identified in a way that feels inviting and consistent with the brand?
- Apartment: Do corridor and floor signs make it easy to locate a unit without second-guessing?
The best multifamily wayfinding signage systems use a consistent visual language, limit the amount of information at any one point, and place signs where decisions happen, not where there happens to be room. This approach supports apartment wayfinding and apartment directional signage that feels intuitive rather than cluttered. If you are planning a budget, our wayfinding signs pricing guide covers what drives cost.
ADA Signage Considerations for Multifamily Projects
Accessibility requirements are an important part of signage planning, and they are best handled early alongside the architectural drawings. At a high level, teams should consider:
- Where ADA signage may be required. Permanent room and space identification, accessible entrances, and certain routes or facilities may need compliant signage, depending on the project type and applicable codes.
- Tactile lettering. Raised characters designed to be read by touch.
- Braille. Grade 2 Braille is commonly associated with accessible signage where it is required.
- Mounting and location. Height, placement relative to door hardware, and clear floor space beside the sign all affect usability.
- Coordination with architectural plans. Door swings, wall space, and adjacent elements influence where compliant signs can actually go.
Because requirements can vary by project, occupancy, and jurisdiction, they should be reviewed early with the architect and, as needed, with code officials. This article is not legal or code advice. For authoritative information, consult the 2010 ADA Standards for Accessible Design and the applicable local building code and accessibility requirements for your project.
Coordinating With the General Contractor
Even the best-designed signage can run into trouble if the sign company and general contractor are not aligned. To fabricate and install correctly, the signage team typically needs the following from the GC:
- Final wall condition: Confirmed substrates, finishes, and dimensions where signs will mount.
- Blocking: Backing or blocking installed in the right locations and at the right heights before walls are closed.
- Electrical: Power stubbed out to illuminated sign locations, with agreed-upon termination points.
- Mounting surfaces: Clean, finished surfaces ready to receive signs, or clear direction on how surfaces will be prepared.
- Installation schedule: A realistic window that fits with the construction sequence and avoids conflicts with other trades.
- Site access: Lift access, parking for installation vehicles, and safe working conditions around the site.
- Other trades: Awareness of work by painters, glazers, masons, electricians, and others that may affect or be affected by sign installation.
- Landscaping coordination: Timing for monument sign footings and plantings so installation and landscaping do not interfere with each other.
Providing this information early lets the fabricator build accurate shop drawings and reduces the chance of site delays or last-minute adjustments.
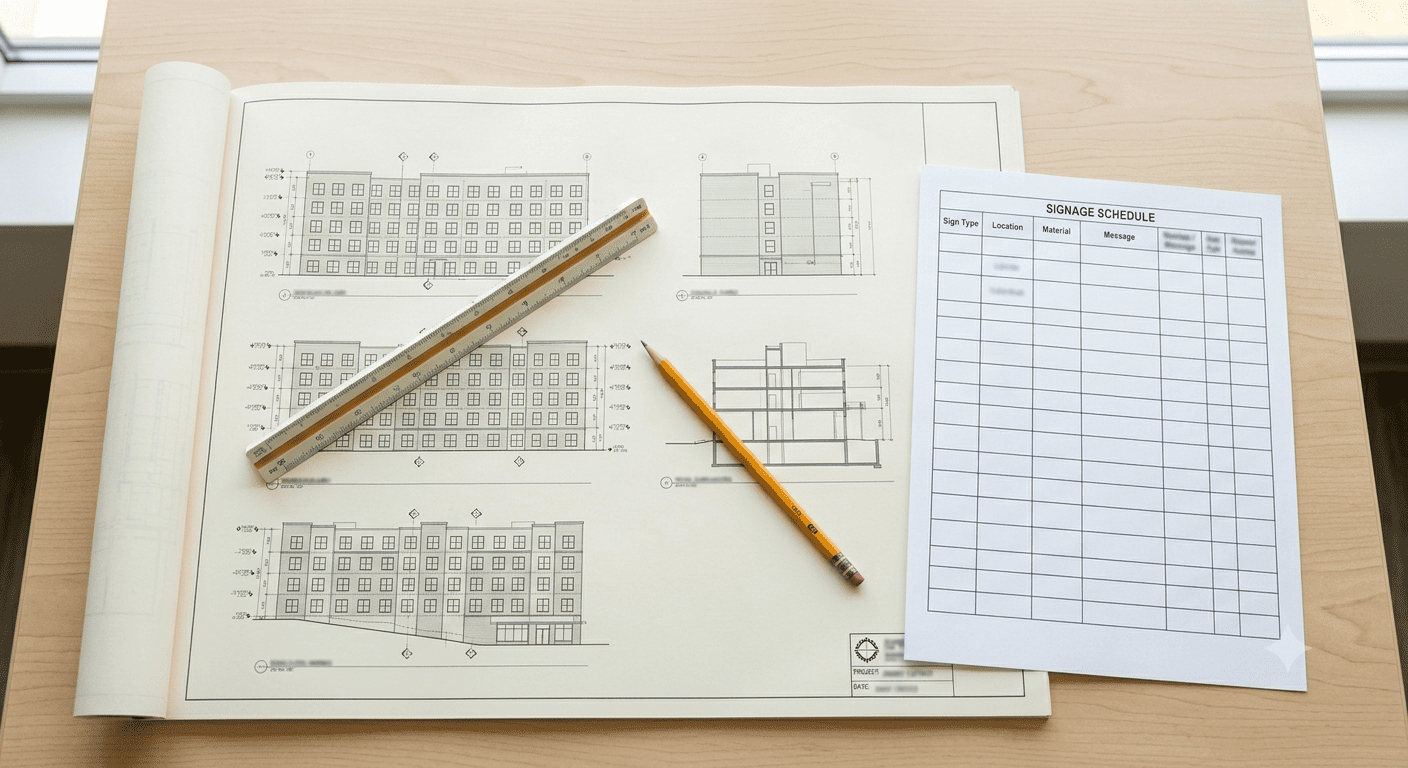
Create a Multifamily Signage Schedule
A signage schedule is one of the simplest and most effective tools for keeping a project team aligned. It lists every sign in one place, with the details each party needs. A basic format looks like this:
|
Sign Type |
Location |
Quantity |
Size |
Material |
Lighting |
Mounting |
|
Property ID |
Main facade, above entry |
1 |
To be determined from elevation |
Dimensional aluminum letters |
Halo lit |
Stud mounted |
|
Monument sign |
Street frontage |
1 |
To be determined from site plan |
Aluminum with stone base |
Internally or externally lit |
Footing / ground mounted |
|
Building ID |
Each building entry |
4 |
To be determined |
Painted aluminum |
Non-illuminated |
Flush mounted |
|
Parking directional |
Garage entry and drive aisles |
8 |
To be determined |
Aluminum panels, reflective vinyl |
Non-illuminated |
Post or wall mounted |
|
Amenity ID |
Fitness, lounge, roof deck |
3 |
To be determined |
Acrylic / metal |
Non-illuminated |
Wall mounted |
|
ADA room ID |
Required rooms and spaces |
Per plan |
Per standard |
Tactile / Braille panels |
Non-illuminated |
Wall mounted at specified location |
Sample values are illustrative and should be replaced with project-specific information.
A signage schedule helps each stakeholder in a different way. Architects can confirm that sign types and locations match the design intent. Developers can understand scope and budget. General contractors can plan blocking, power, and sequencing. Fabricators can price and produce signs accurately. Most importantly, it gives everyone a single reference point, reducing the risk of assumptions and omissions.
Common Multifamily Signage Coordination Mistakes
Most signage problems are predictable. Here are the ones that come up most often, and how to avoid them.
- Planning signage too late. When signage is considered after construction is well underway, options narrow and costs rise. Start during concept or design development.
- Not checking wall conditions. A sign that looks good in a rendering may not mount properly on the actual substrate. Verify wall types and mounting requirements early.
- Ignoring electrical requirements. Illuminated signs need power, conduit, and access. If these are missed in the electrical plans, fixes can be disruptive and expensive.
- Choosing materials too late. Late material decisions can affect lead times, budgets, and the ability to coordinate with other finishes.
- Poor sign visibility. Signs hidden by landscaping, canopies, lighting glare, or poor placement fail to do their job. Review sightlines from both pedestrian and vehicle approaches.
- Inconsistent branding. When different sign types are produced piecemeal, the result can look disjointed. A unified design system keeps everything cohesive.
- Forgetting wayfinding. Identification signs alone do not help people move through the property. Plan directional and informational signs as part of the system.
- Treating ADA signage as an afterthought. Accessible signage affects layout, content, and mounting. Address it in the drawings, not at final inspection.
- Not coordinating with landscaping. Plantings, grading, and site lighting all influence monument and entrance signs. Include the landscape architect in signage discussions.
- Not involving the signage company early enough. A fabricator can flag constructability, lead-time, and cost issues long before they become problems.
How a Signage Company Can Support the Architectural Team
A signage partner does not replace the architect's role. It complements it. At Sunrise Signs, the process typically follows a straightforward workflow:
Design consultation → Signage planning → Design and fabrication → Coordination → Installation
- Design consultation: Reviewing the architectural concept, branding, and project goals to understand what the signage needs to accomplish.
- Signage planning: Identifying sign types, locations, and a preliminary schedule, and flagging technical needs such as power and blocking.
- Design and fabrication: Developing shop drawings and producing signs to match the approved design and specifications.
- Coordination: Working with the project team to align on schedule, site conditions, and installation requirements.
- Installation: Installing signs safely and accurately, and addressing any final adjustments.
This kind of collaboration works with a range of project partners, including architects, developers, general contractors, property managers, and interior designers. Each brings a different perspective, and a coordinated signage plan helps ensure all of them are working from the same information.
Multifamily Signage in Philadelphia & Beyond
Philadelphia's multifamily market covers a wide range of project types, from ground-up apartment buildings to adaptive reuse of historic industrial and commercial structures. Urban apartment communities often face tight sites, mixed-use frontages, and pedestrian-heavy streets, all of which make careful signage planning especially important.
In new construction, there is an opportunity to integrate signage into the design from the start, with planned sign zones, power, and blocking. In renovation and adaptive reuse, signage often needs to respond to existing conditions, historic character, and the constraints of older building fabric. In both cases, coordinated exterior and interior signage helps a community present a consistent identity, from the street-facing facade to the lobby and corridors.
Wayfinding and identification matter in dense neighborhoods, where residents, visitors, delivery drivers, and rideshare drivers all need to find the right entrance quickly. Clear building identification, well-placed entry signage, and intuitive interior wayfinding all contribute to a better resident experience.
Sunrise Signs works with project teams across Philadelphia, South Jersey, and the wider Tri-State area, including recent signage for a new development in Fishtown.
Plan Your Multifamily Signage Project
Sunrise Signs brings design, fabrication, and installation together, working alongside architects, developers, and general contractors to deliver signage that supports the building and serves the people who use it.
Discuss Your Multifamily Signage Project
